When you click on links to various merchants on this site and make a purchase, this can result in this site earning a commission. Affiliate programs and affiliations include, but are not limited to, the eBay Partner Network.

ArtDeco eBike Build

#eBayPartner    Most Recent BUY IT NOW Items Listed on eBay
eBay Auction Picture
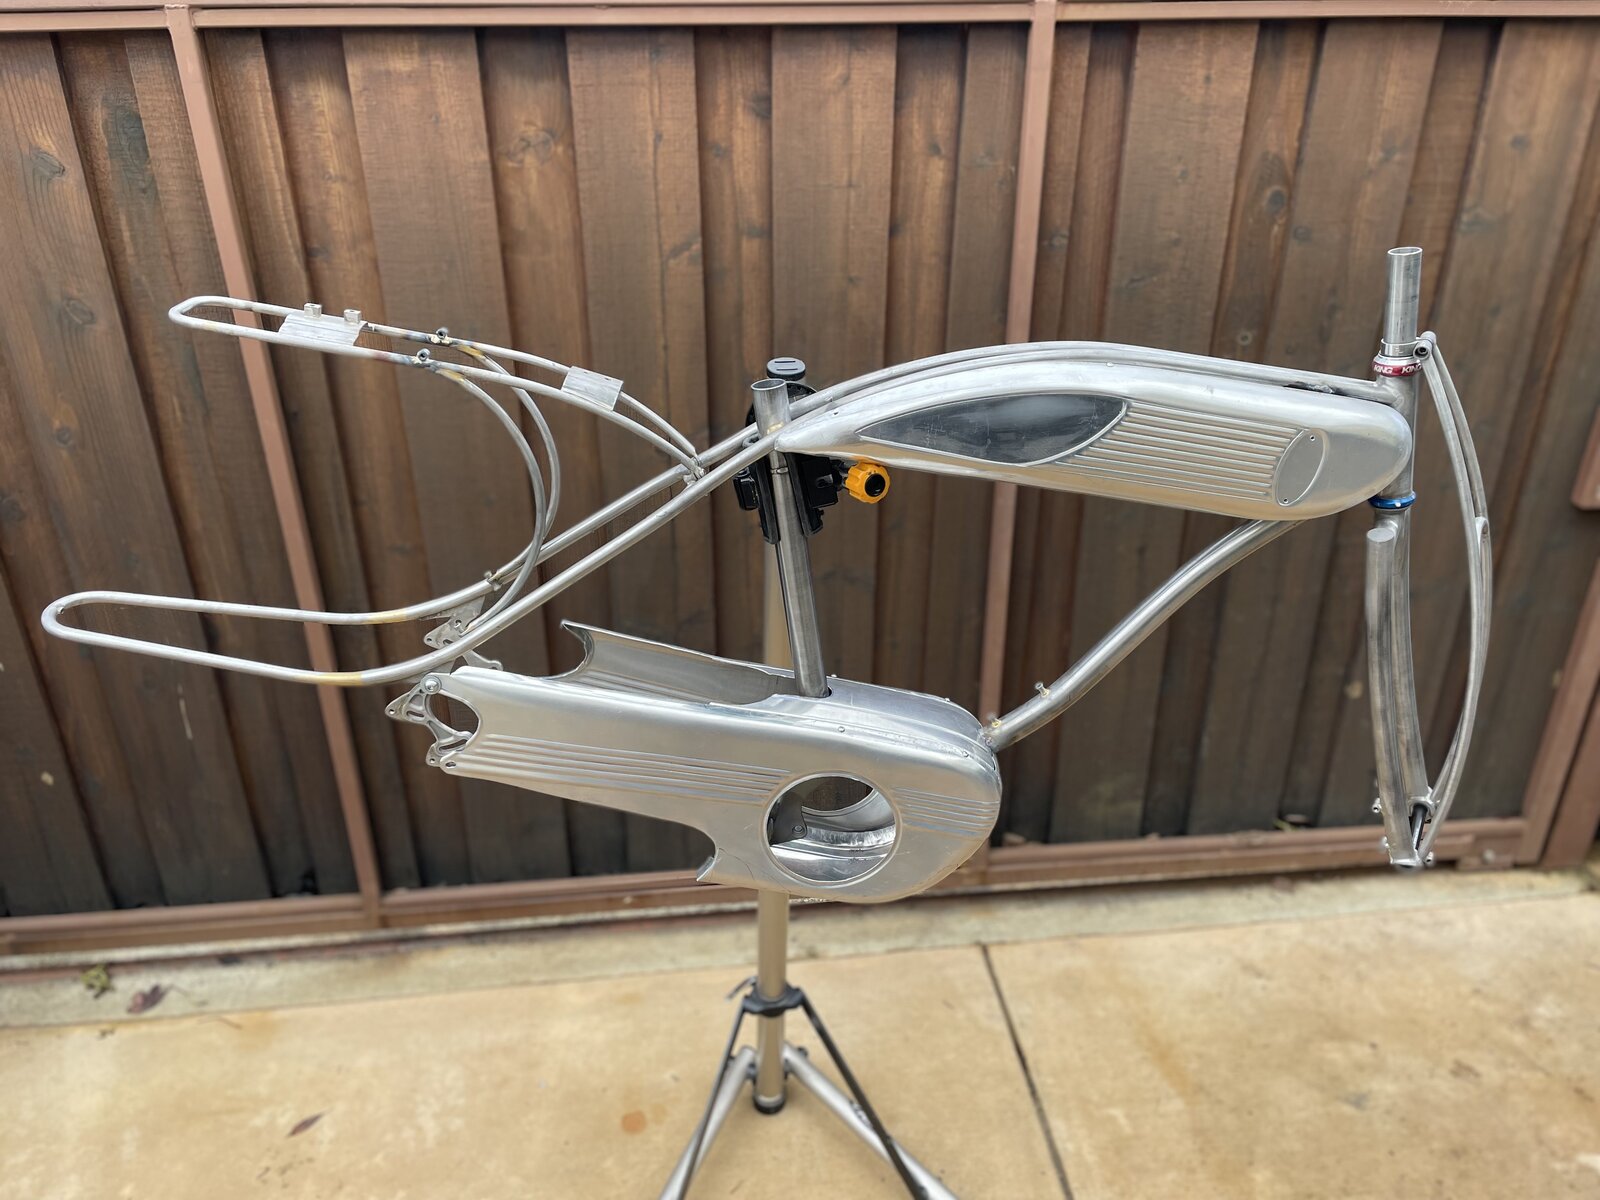
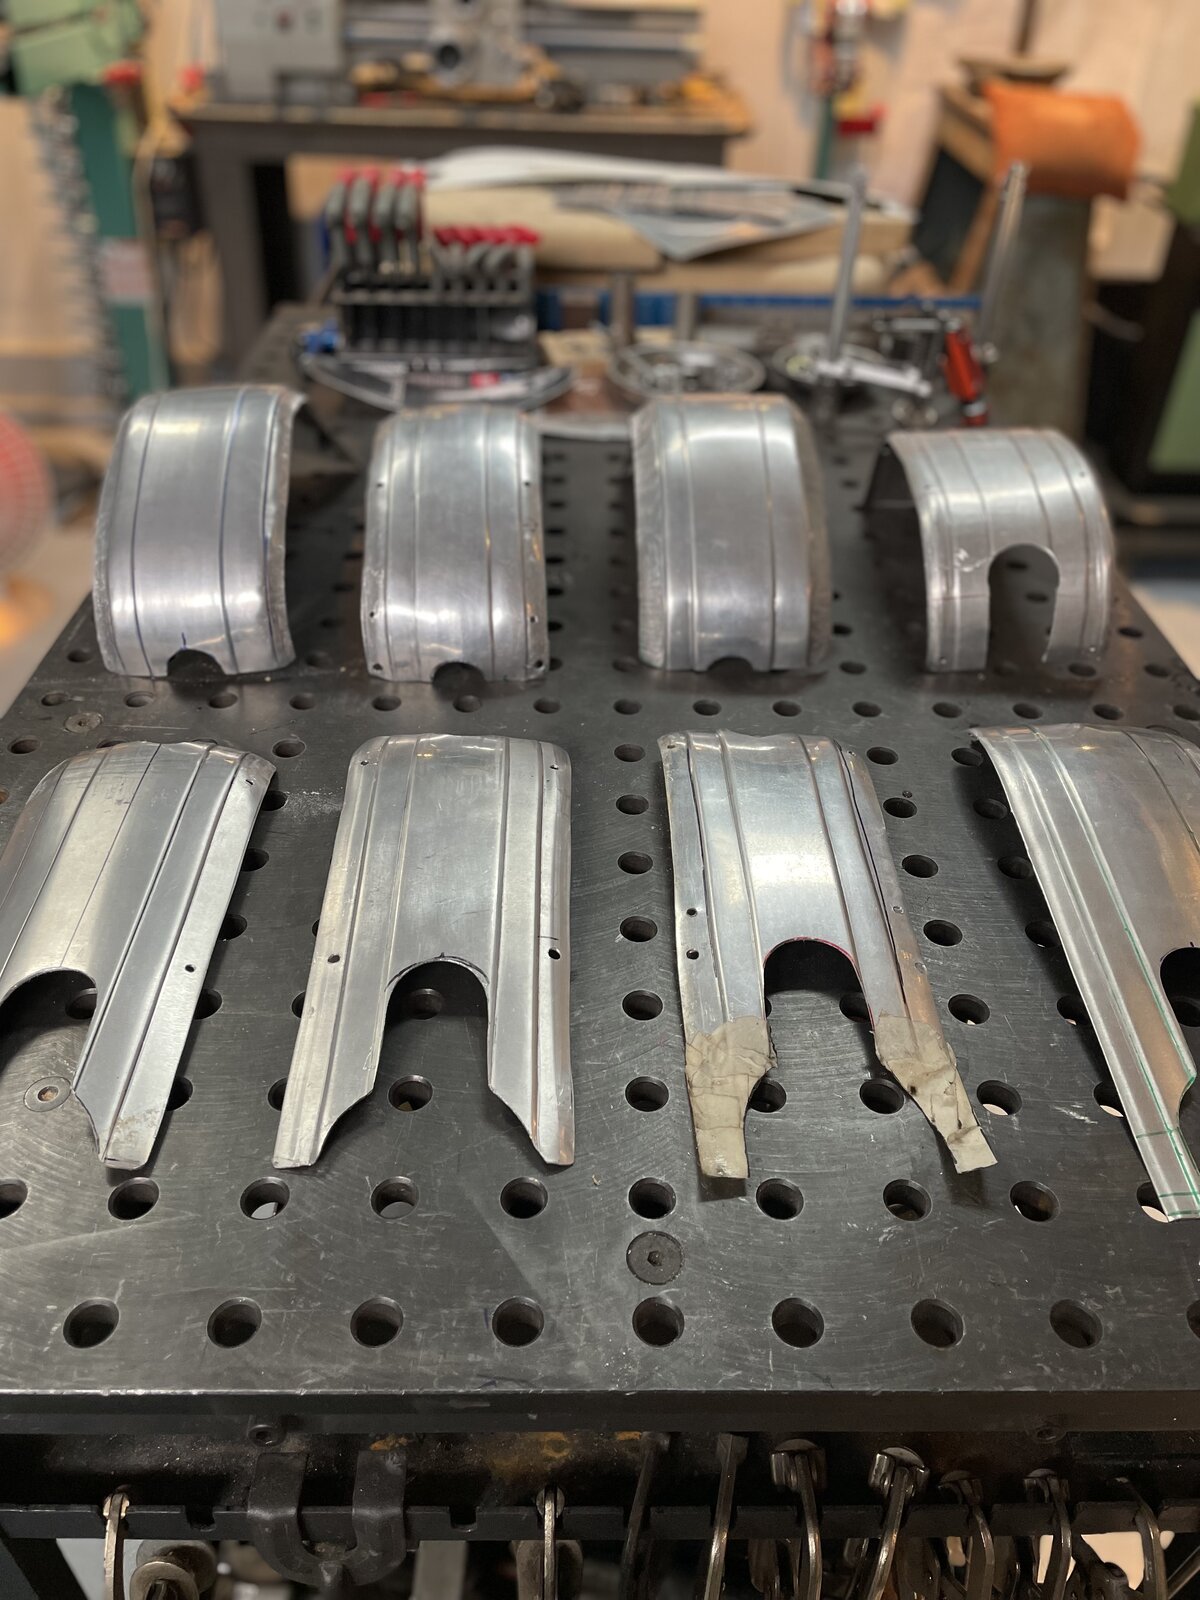
Shaping an aluminum panel from a flat sheet is quite rewarding. I have a design worked out in my head and on paper, then I proceed to teach myself how to get the end result. The key is patience. I go into forming each piece knowing that it’s not going to be the one I use. Each piece is a prototype. After spending a couple hours manipulating each panel I learn something about the process, or the fit, or a tool, that I can take with me to the next panel. It gets dialed in closer each time and the process becomes a bit less challenging. Slowly it’s coming together.
IMG_4146.jpg


IMG_4151.jpg


IMG_4215.jpg


IMG_4217.jpg
 
I made the rack shroud or battery tray in 3 pieces. I shaped each side panel and then welded them together. The rear piece was formed with a recess to incorporate a tail light. I then welded that on the back. The shroud then snaps over the tubular rack. The battery nests in perfectly!

IMG_3954.jpg


IMG_3948.jpg


IMG_3949.jpg


IMG_3947.jpg


IMG_3961.jpg


IMG_3964.jpg


IMG_3970.jpg
 
As I am nearing the completion of my build I realized that there is an inherent problem. The bar ends hit the frame and aluminum side panels when turned completely, not unlike any bike. You always see older bikes with damaged top tubes or tank bikes with big dents in them. I set out to engineer stops in the head tube to eliminate this issue. I inserted bar stock in the steerer tube and tapped it out for a 5mm bolt. I notched out the sides on the head tube, fabricated stop plugs and brazed them into the head tube. Then I drilled a hole in the back side of the head tube to allow access to screw in a machined bolt to act as the stop. It works great!

IMG_4378.jpg


IMG_4390.jpg


IMG_4394.jpg


IMG_4403.jpg


IMG_4405.jpg


IMG_4408.jpg


IMG_4410.jpg
 
It is admirable how you make your idea come true.
What an excellent job, congratulations! 👏😎
 
"Artist and Craftsman" indeed. You sir, win the bicycle internet for ambition as well. This is the most involved and well documented scratch bike build I have seen on this or any other site. Having built a few vintage replicas I have some understanding of the work involved in just a frame, but the addition of the sculpted sheet metal takes this -way- beyond... Bravo!
 
Back
Top