I started off Friday feeling pretty confident that I could get this bike done in time for the VW show on Saturday. Basically, all I had left to do was assemble the bottom bracket, rebuild the wheel hubs, and install a chain.
I started off with the front wheel hub, which went well enough. I shot a video of it spinning in the fork after the rebuild, and a full minute later, it was still spinning almost as fast as it was at the start!
Next, I tackled the bottom bracket. I had to find a set of bearings, bearing cups, and races that would all work together. Finding the right races seemed easy enough, but finding a pair of matching bearings in usable condition required some
work!
The 3 bearings up top all started off looking like the one on the bottom. I had to manually wire brush all the caked-on grease off the bearings to see what kind they even were, and then use a toothpick to pick out the gunk inside each of them. I then used my ultrasonic cleaner to take care of the rest. It was way more work than I expected, but I think it was worth it.
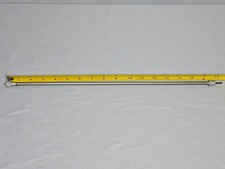
While I was testing out the bottom bracket pieces, I checked the alignment of the gears. I sadly found that my big 22-tooth sprocket I wanted to use was bent, and I wasn't sure how to fix it at the time.
I also found that the spacer I put inside the bottom bracket stuck the chainring out way too far to line up with anything.
That was just the beginning of the headaches with the bottom bracket. First, the bearings kept making a weird sound like they weren't moving right, even though all the balls spun fine in their cages in my hand. I tried different bearings, but still had the same issue. I figured the problem would go away when I added grease. Then I found the chainring wobbled a bit, but only sometimes. I figured I could straighten it out on final assembly. And
then, when everything was greased, I couldn't get the races tight enough without wobbling or causing the crank to stop spinning! It was driving me nuts!
(
You can see videos of the issues listed above on ratrodbikes.com.)
On a side note, in the middle of assembling the bottom bracket, my next door neighbor called, telling me to come over as he had something for me. He found these 4 bicycle inner tubes in his garage as he was cleaning it, and said I could have them. While there, I helped him move a few things around that would be difficult for him to get to himself, as he's at least as old as my grandma, if not older. We chatted for a bit too, which was fun. After being there for about an hour, we both got back to doing what we were before.
After the headache with the bottom bracket, I decided to switch gears and work on rebuilding the coaster brake.
I also decided to go with the 20-tooth sprocket on the right, instead of the bent 22-tooth sprocket on the left.
After wiping everything off as best as I could with some shop towels, I ran everything through my ultrasonic cleaner for a couple cycles, hosed them off, and dried off everything using the air compressor.
Just so I'd get a better idea of how everything went together, I mocked up the parts outside the hub. It definitely helps.
Thankfully, reassembling the coaster brake hub was pretty straightforward. All that was left to do was troubleshoot the bottom bracket...


vintageamericanbicycles.com
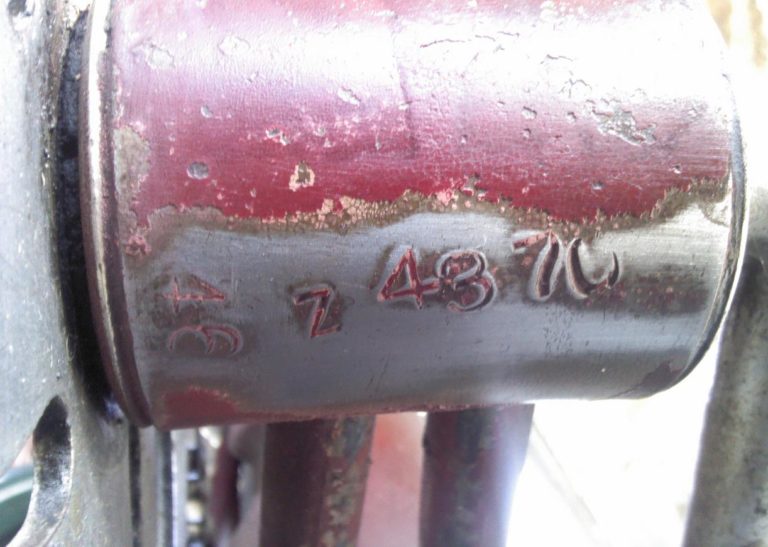
 Awesome, thanks! That would make this the oldest bike I own out of all the ones I've had identified so far! I'm just surprised to find a non-Schwinn bike that Schwinn parts can fit on!

