


schwinnbikebobb
I live for the CABE
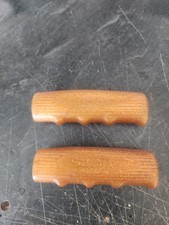
Here is mine. Still the Campy chunk but thought I'd keep it. I'd go Crane if to be ridden. Found this one about 90 minutes away but I asked Stikshifter if he wanted to go with me so we made a day of it including a pizza lunch. Typical story, the seller said the local bike shop said it was a $500 bike so she had a distorted view of worth. I asked her did they offer to buy it for the $500? No they didn't want it she said. Then we were able to make a deal after we got that out of the way. Looking at this pic it looks like the fork is tweeked but it is not, just the angle I guess.
.JPG")
 .
. . I was in College in my Sophomore year at that time, buying in 1970 a used 1963 Buick Le Sabre in very good condition for $500.


